

HOW TO HANG YOUR ARTWORK: 5 EASY STEPS
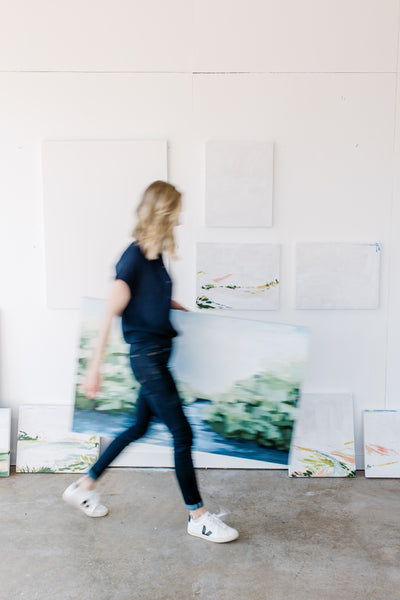
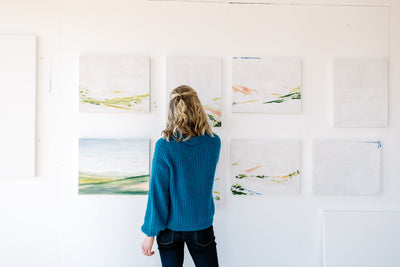
Most of us spend weeks, months, maybe years searching for the perfect piece of artwork to fill a particular space on our wall. It could be the large canvas over the sofa, the paintings over the bed, or a series of framed watercolors in the hallway. Whatever it is, the search process can be a real investment of both time and resources.
Once you welcome that beautiful painting into your home, the realization sets in that unfortunately you can't just velcro this baby to the wall in five seconds. If you're like me, you've left more than a couple nail holes in the wall trying to eyeball the exact coordinates for a perfectly centered and level hanging piece of art, only to rip out the nail and start all over.
If that's the case, THIS IS FOR YOU! A step-by-step guide on how to hang your artwork perfectly, on the first try. (Click here for the guide!)

Before you start: Gather your materials (tape measure, pencil, hammer, nail)
Step 1: Measure the top of your canvas or frame, and place a small piece of tape with one edge at exactly halfway across to mark the center point.
Step 2: Position the artwork at the exact location you want it to hang on the wall and hold it steady while using the pencil to mark a small dot on the wall at the top of your artwork at the halfway point, marked by the tape.
Step 3: Measure the vertical distance from the top center point of your canvas or frame to the hook, taut wire, or wherever the painting will be hanging from.
Step 4: Take the distance you just measured ("X inches") and use your pencil to add a second small dot X inches below the first dot you made. This is the dot where you will put the nail into the wall.
Step 5: Hammer the nail into the wall, hang your beautiful artwork, and admire that perfectly-hung painting!
**FREEBIE LINK: PRINTABLE 5-STEP HANGING GUIDE
Leave a comment