

HOW TO SET UP YOUR STUDIO SPACE.
My first studio space after college was the corner of the living room in my Atlanta apartment on Collier Road. My designated space had beige walls we weren’t allowed to paint, carpeted floors, and measured approximately 5 ft by 5 ft. Since then I’ve rented studio space in two different Atlanta locations, and four in North Carolina before moving into the space I have now.
There was the Goat Farm, where I rented a third of a plywood-walled room with no windows (shared with a photographer friend and a playwright who I rarely saw), a lovely place in Roswell where I occupied the front sixth (approximately) of an open concept co-working space, the light-soaked sunroom in my first NC rental home, the studio on King Street where I met my friend Emma, and the next couple studios on the second story of a historic downtown Brevard building with no heat or AC, where Emma and I continued to be studio neighbors before both moving our studios to our own homes.
While each space came with its own quirks, charms, perks, decor choices, and frustrations, after inhabiting all eight (!) studios, I’ve zeroed in on a few simple things that make ANY studio, regardless of size or quirk level, feel inviting, functional and conducive to creativity. And if you’re new to the habit of getting creative, I have something to help you with that, too.
Now, on to setting up your studio…
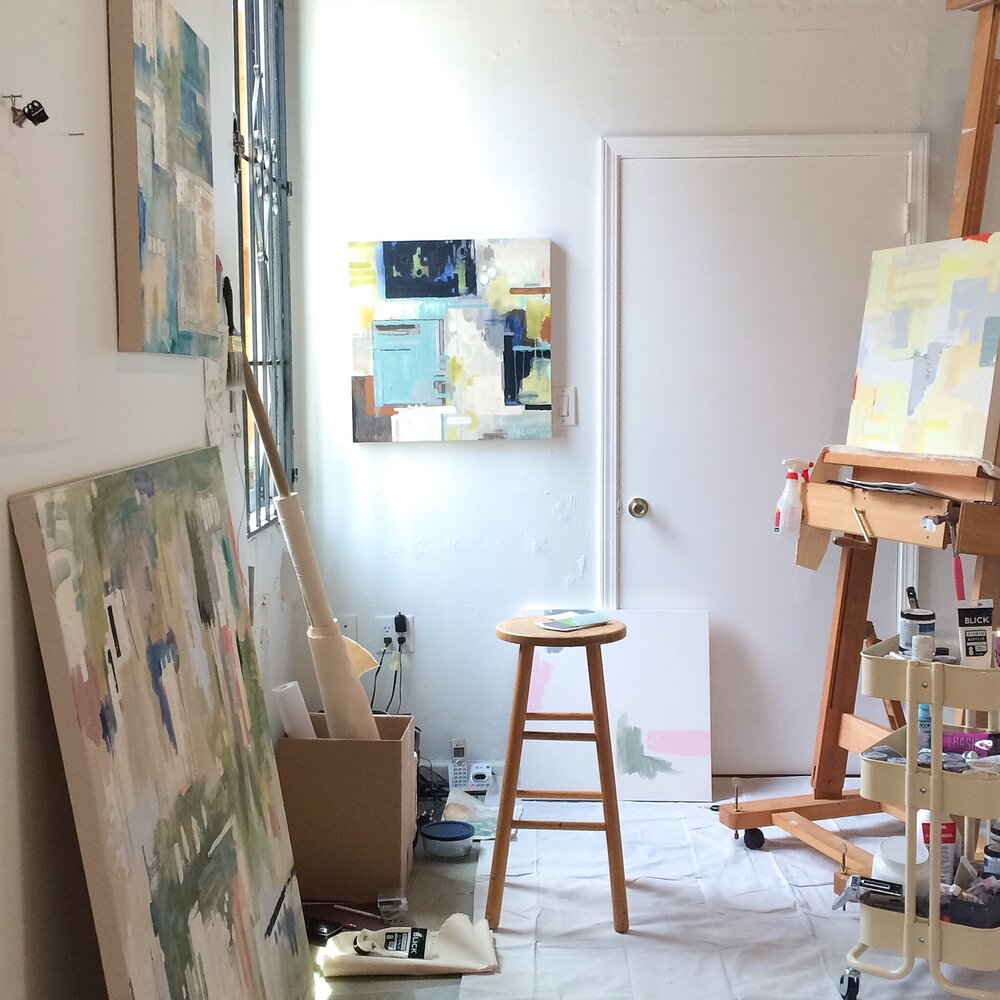


1) The first thing I recommend setting up is some kind of tiered cart. This can be as tall or tiny as you need it to be, but a place to store your paints, brushes, and any other medium you use is essential. Having the cart on wheels is especially helpful if you are working in a space that doubles as a living area or guest room, and your studio needs to be consolidated or tucked away regularly. If you need help choosing the paints, tools, and materials to stock your cart, check out my Materials Guide.
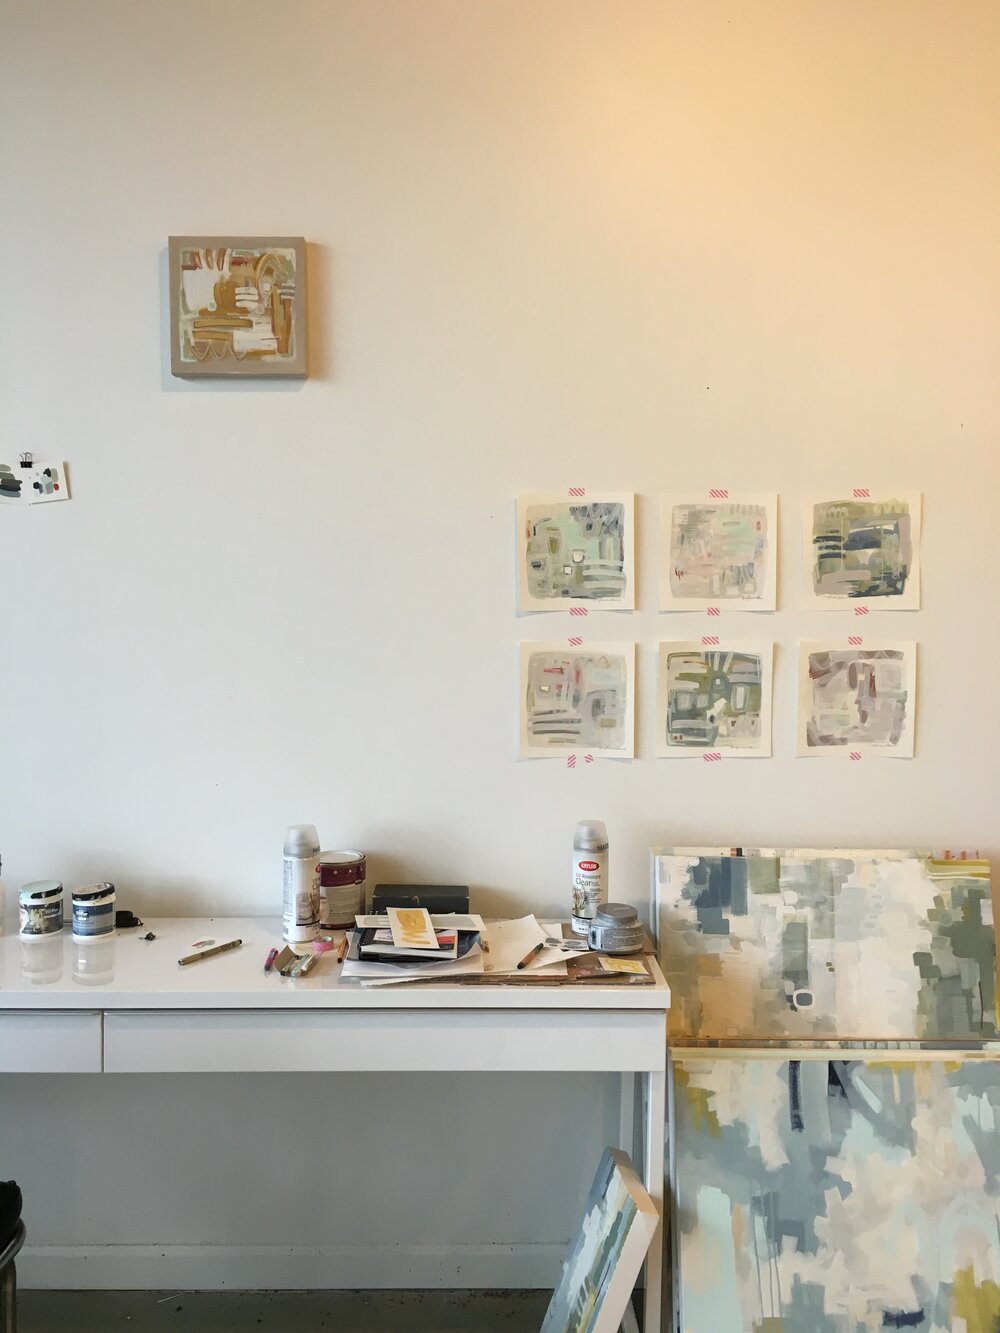
2) The second element of a functioning studio is a table. I use a stainless steel table which has plenty of room for my palette, most frequently used paints, a few brushes, and whatever small painting I’m working on at the time. If you’re carving out a space at home, try setting up a card table you won’t worry about getting messy, or if you don’t have the space, spread a canvas or vinyl drop cloth over your kitchen/dining table and roll your paint cart right up next to you when it’s time to get to work.
3) Third, you need a chair or stool. I use a stool when I’m painting larger canvases since I’m roughly the same height sitting on a stool as I am standing, and can easily transition between the two depending on how much physical movement is required for the actual painting process. This might sound ridiculously obvious, but I’ve had studios without an actual chair in it, and there’s something that’s an inherent bummer about getting tired and having to sit directly on a concrete floor (that may or may not have wet paint on it) instead of on a chair.
These next two are optional depending on the scale of your paintings. If you only paint small and on paper, you might not want an easel, and likewise if you are limited on space, there’s no need to set up a shelving system.
4) If you paint on canvas or panel and have the space, I recommend using an easel. Easels can be small, one foot tall tabletop easels, or they can be eight foot tall pieces of furniture requiring a space of their own. The key benefit is that they elevate paintings to eye level so you’re not constantly straining your neck. In that first apartment corner, my “easel” was two level nails in the wall I hung canvases on to paint. One fateful day I stumbled into the Blick store on 7th and Peachtree and in the back of the dimly-lit sale section was the nicer version of the easel I wanted but was too expensive at the time, heavily discounted and ready for immediate sale. I’ve been using that easel ever since.
5) Lastly, if you have a space carved out for your creative practice that is relatively stable (not something you have to break down and put away after each painting session), shelving is a simple element of a studio that will immediately make you ten times more organized. I have a set of wire utility shelves from Target that store all my packing envelopes, pads of paper, small canvases, extra paints, power tools, canvas scraps, you name it. These are the things that accumulate as you develop a more regular painting practice, but can make your space feel cluttered and distracting. Just a set of utility shelves (small or tall) to store it all works wonders in keeping your studio organized.
These are the five things I have in my studio that make all the difference. The key to a functional studio space is having a place for everything, and if it’s at all possible leave your space set up!!! Half the battle is getting out your materials and setting up your space, so if there’s anywhere you can leave your paint cart, have a few shelves, and keep a canvas at arms reach, by all means carve out that space and make it your own!
If your studio currently looks a lot like my first studio (a corner of a shared space), start by focusing on those first three simple elements: a paint cart, a table, and a chair. You likely have at least two out of three already, and it’s all easy enough to break down and re-assemble if you’re unable to leave your creative space in tact from day to day.
Do you have a studio space you’re working from? Even if it’s just a spot at the kitchen table? Let me know!
Click HERE for a downloadable PDF with the 5 Elements to make your studio space functional & inviting.
ADDITIONAL RESOURCES FOR SOMEONE CREATIVE LIKE YOU:
- Six Steps to Kickstart Your Own Creative Practice -
- My Top 5 Essential Studio Tools -
- 15 Sketchbook Prompts -
Leave a comment